Registry Management
This guide shows you how to manage Docker Registries in ReadyStackGo to pull images from private registries.
Overview
Section titled “Overview”ReadyStackGo supports pulling Docker images from any OCI-compliant registry. Through the Settings page, you can centrally manage registry credentials and automatically assign them to the correct registries using Image Patterns.
| Feature | Description |
|---|---|
| Add Registry | Configure Docker Hub, GHCR, GitLab, Quay.io or custom registries |
| Manage Credentials | Store username/password or token for private registries |
| Image Patterns | Automatic assignment of images to registries via glob patterns |
| Default Registry | Fallback registry for images without a pattern match |
| Edit Registry | Modify name, URL, credentials and patterns after creation |
| Delete Registry | Remove registry configuration including credentials |
Credential Resolution
Section titled “Credential Resolution”When pulling an image, ReadyStackGo searches for credentials in the following order:
- Database Registries - Registries from Settings with matching Image Patterns
DOCKER__CONFIGPATH- Path from environment variable or appsettings.jsonDOCKER_CONFIG- Standard Docker convention (directory)/root/.docker/config.json- Default path in Linux container- No Auth - For public images
Step by Step: Adding a Registry
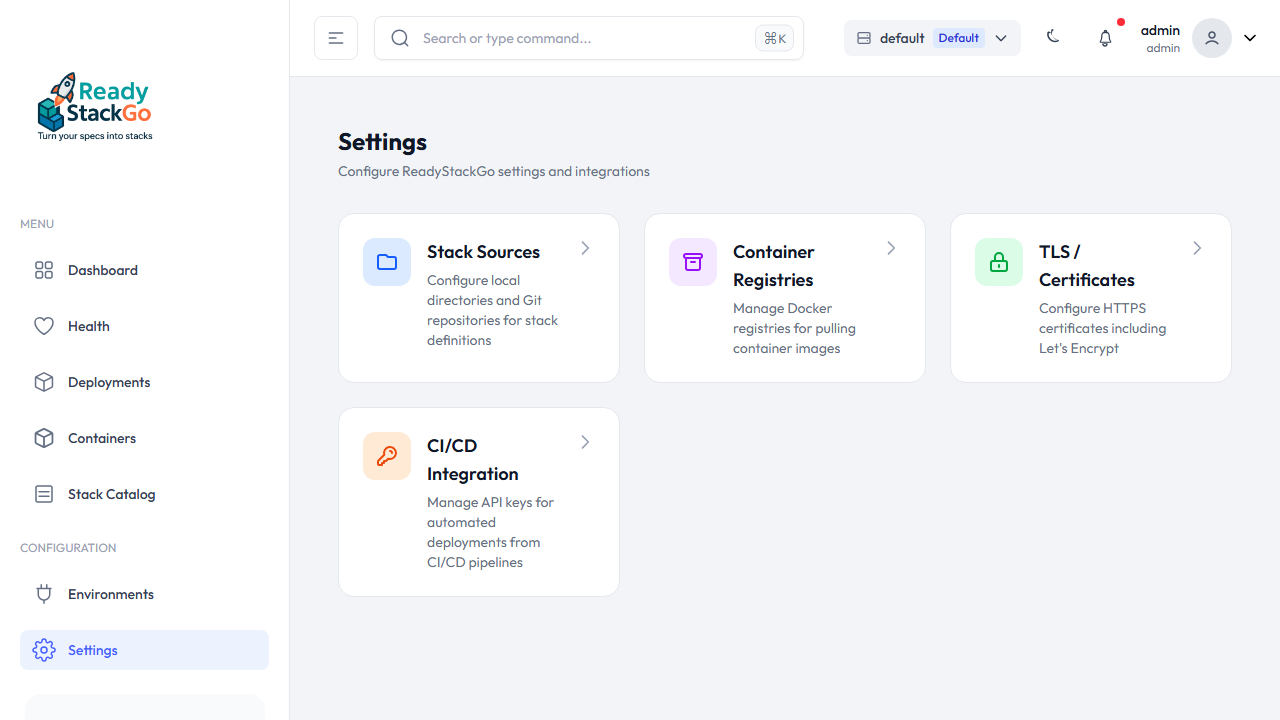
Section titled “Step by Step: Adding a Registry”Step 1: Navigate to Settings
Section titled “Step 1: Navigate to Settings”Open the Settings page from the sidebar navigation. You will find the Container Registries card there.
Step 2: Open Registry Overview
Section titled “Step 2: Open Registry Overview”Click on the Container Registries card. On first access, an empty state is shown – no registries configured yet.

Click Add Your First Registry or the Add Registry button in the top right.
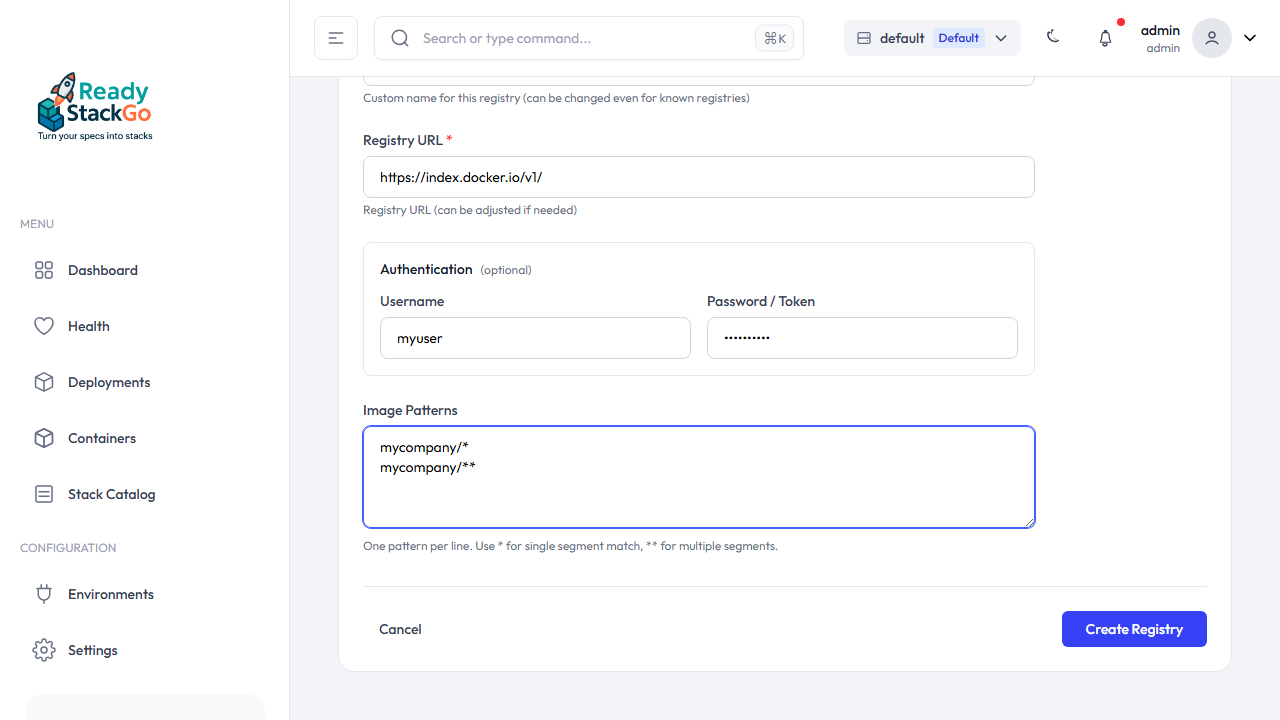
Step 3: Configure the Registry
Section titled “Step 3: Configure the Registry”Fill out the form. ReadyStackGo provides templates for well-known registries:
| Registry | URL |
|---|---|
| Docker Hub | https://index.docker.io/v1/ |
| GitHub Container Registry | https://ghcr.io |
| GitLab Container Registry | https://registry.gitlab.com |
| Quay.io | https://quay.io |
| Custom | Enter any URL |
Select a registry type from the dropdown – name and URL are filled automatically. Optionally configure Credentials (Username + Password/Token) and Image Patterns.
Step 4: Registry in the List
Section titled “Step 4: Registry in the List”After saving, the registry appears in the overview. Badges indicate the status:
- Authenticated – Credentials are stored
- Default – This registry is used as fallback
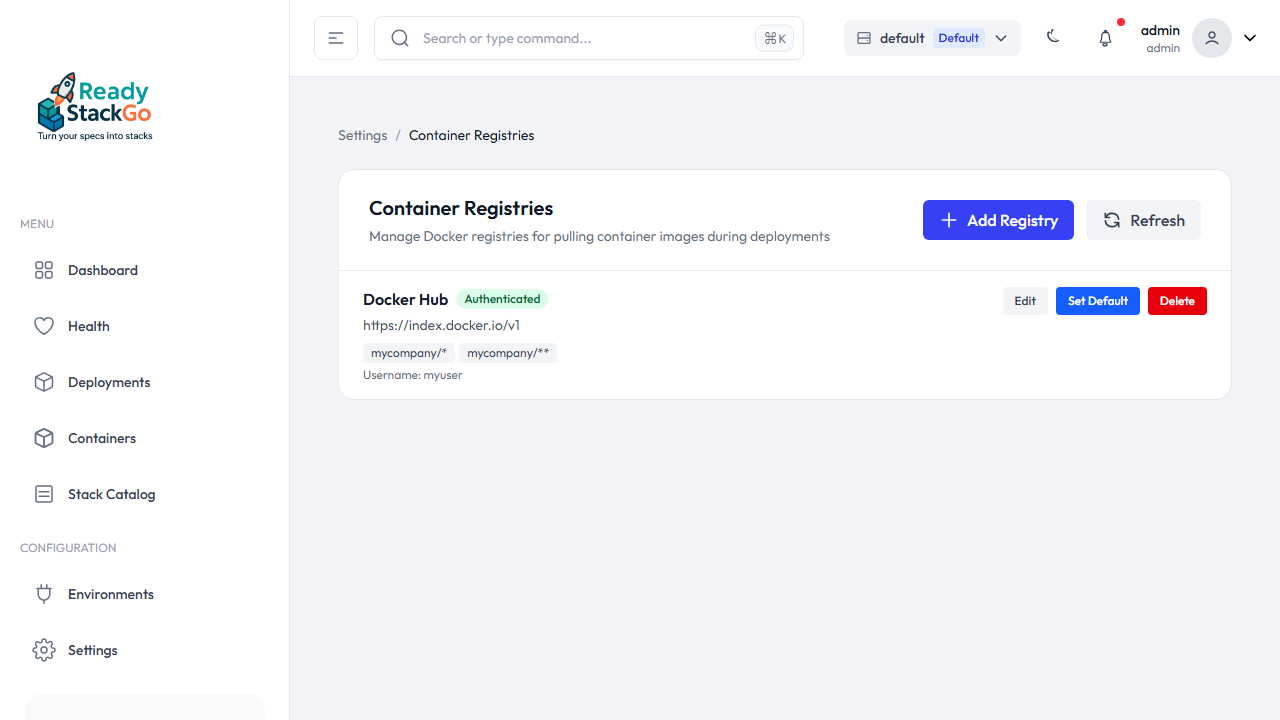
From here you can edit registries, set as default, or delete them.
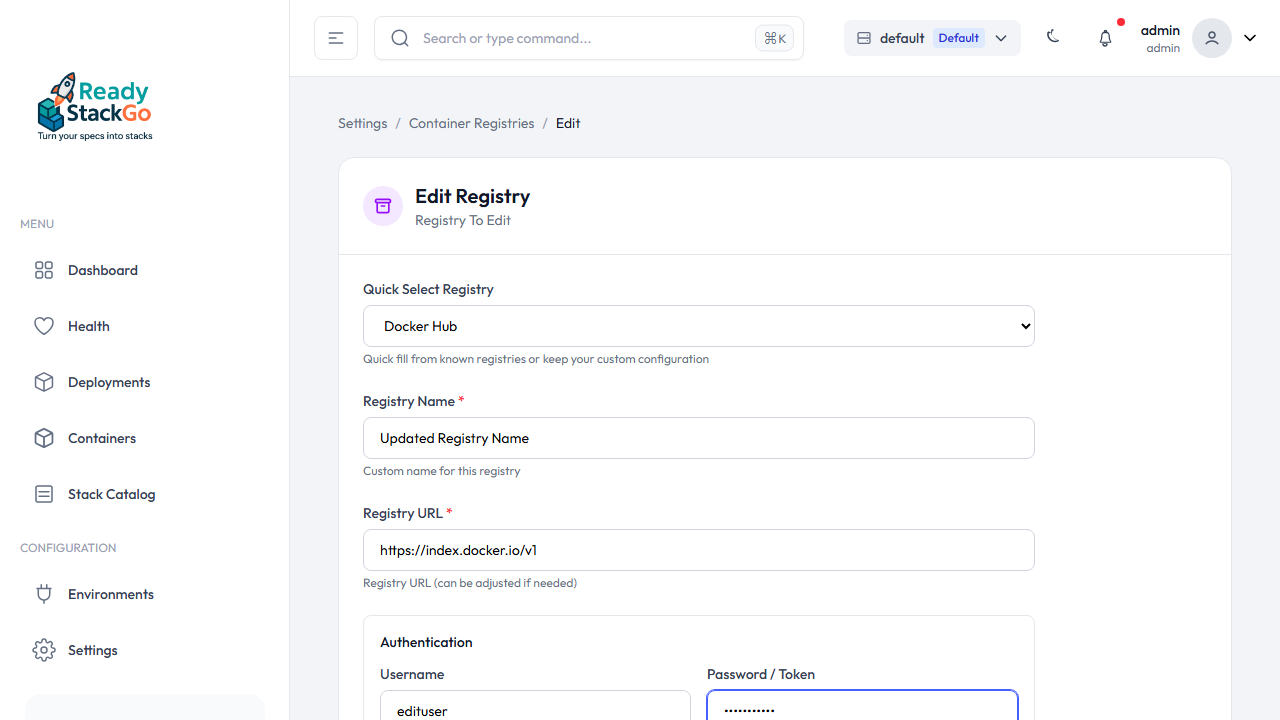
Editing a Registry
Section titled “Editing a Registry”Click Edit on a registry to modify its name, URL, credentials, or image patterns.
Deleting a Registry
Section titled “Deleting a Registry”Click Delete on a registry. A confirmation page appears showing the registry details.
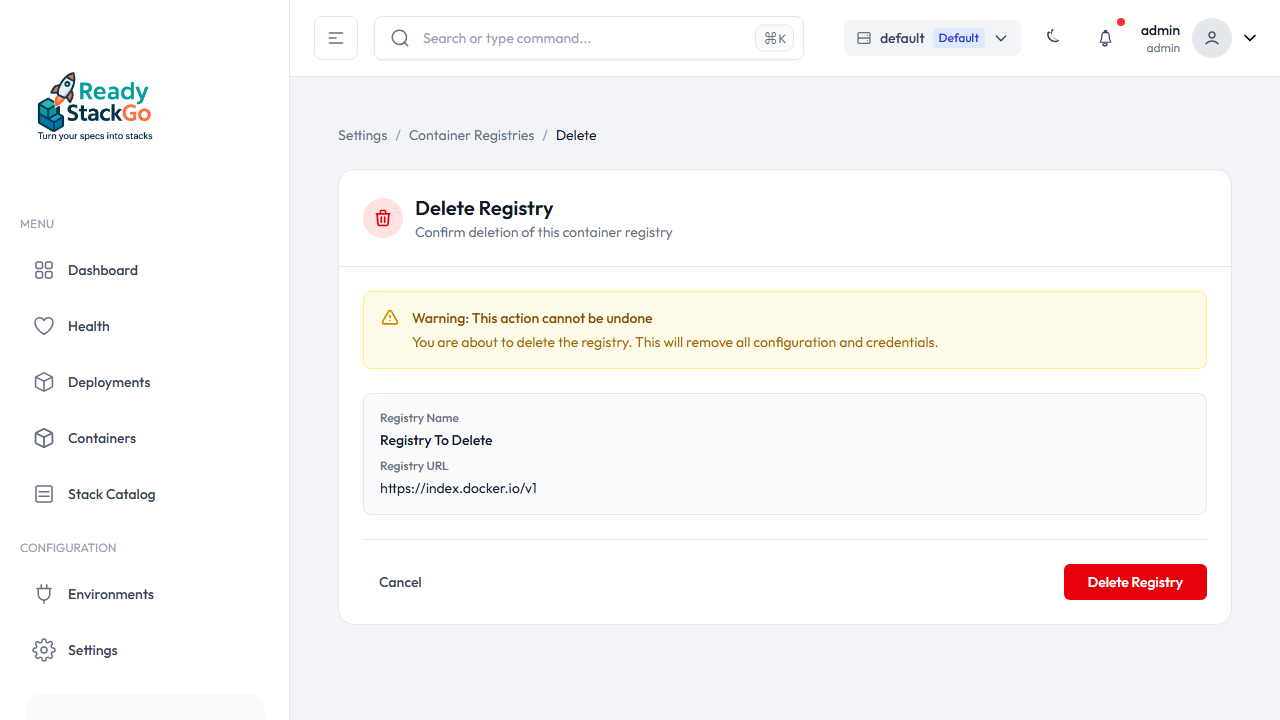
Image Patterns
Section titled “Image Patterns”Image Patterns determine which registry credentials are used for which images. They use glob-style syntax:
Pattern Syntax
Section titled “Pattern Syntax”| Pattern | Description | Example Matches |
|---|---|---|
library/* | Single path segment | library/nginx, library/redis |
myorg/** | Any number of path segments | myorg/app, myorg/team/app |
ghcr.io/** | Registry-specific | ghcr.io/owner/repo |
nginx | Exact match | Only nginx |
Pattern Rules
Section titled “Pattern Rules”*matches any characters within one path segment**matches any characters across multiple path segments- Patterns are case-insensitive
- Tags and digests are ignored during matching
Example Configuration
Section titled “Example Configuration”| Registry | Image Patterns | Used For |
|---|---|---|
| Docker Hub (Company) | mycompany/*, mycompany/** | Company images on Docker Hub |
| GitHub Container Registry | ghcr.io/** | All GitHub Packages |
| Azure Container Registry | myacr.azurecr.io/** | Azure-hosted images |
| Default (Docker Hub) | (none - marked as default) | All other public images |
Default Registry
Section titled “Default Registry”You can mark a registry as Default. This registry is used for all images that don’t match any pattern. Click Set Default in the registry list.
Supported Registries
Section titled “Supported Registries”ReadyStackGo works with any OCI-compliant registry:
| Registry | URL Format |
|---|---|
| Docker Hub | https://index.docker.io/v1/ |
| GitHub Container Registry | https://ghcr.io |
| Azure Container Registry | https://<name>.azurecr.io |
| Google Container Registry | https://gcr.io |
| Amazon ECR | https://<account>.dkr.ecr.<region>.amazonaws.com |
| Self-hosted | https://registry.example.com |
Troubleshooting
Section titled “Troubleshooting””pull access denied” Error
Section titled “”pull access denied” Error”Failed to pull image 'mycompany/myimage:latest' and no local copy exists.Error: pull access denied for mycompany/myimageCauses:
- No registry credentials configured
- Wrong credentials
- Image pattern doesn’t match
- Image doesn’t exist in the registry
Solutions:
- Add a registry via Settings
- Configure an Image Pattern that matches your image
- Verify credentials
- Check the image name
Registry Not Being Used
Section titled “Registry Not Being Used”If configured credentials are not being used:
- Check Image Patterns - Does the pattern match your image?
- Verify Pattern Syntax - Use
*for one segment,**for multiple - More Specific Patterns - Does another registry have a more specific pattern?
Enable Debug Logging
Section titled “Enable Debug Logging”For detailed credential resolution logs:
environment: - Logging__LogLevel__ReadyStackGo.Infrastructure.Docker=DebugSecurity Notes
Section titled “Security Notes”- Passwords are stored in the SQLite database (not encrypted at rest)
- Restrict access to the ReadyStackGo instance
- The database file should only be readable by the ReadyStackGo process
- Use service accounts instead of personal credentials
Related Links
Section titled “Related Links”- Stack Deployment - Deploy stacks
- Installation - Install ReadyStackGo